Posts

#Inktober 2020 engravings

Image
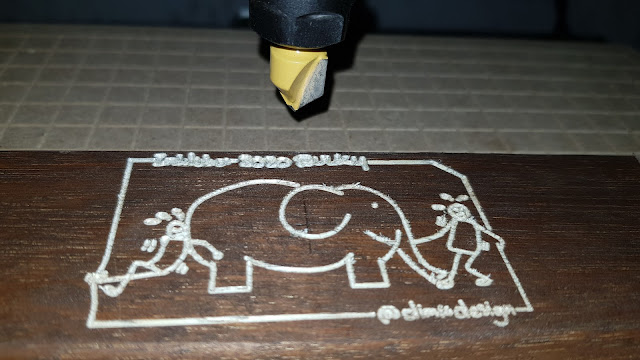
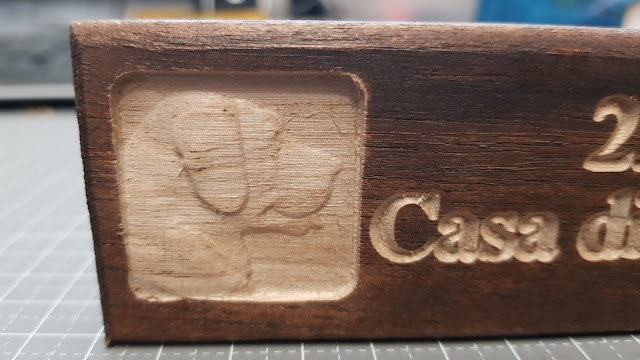
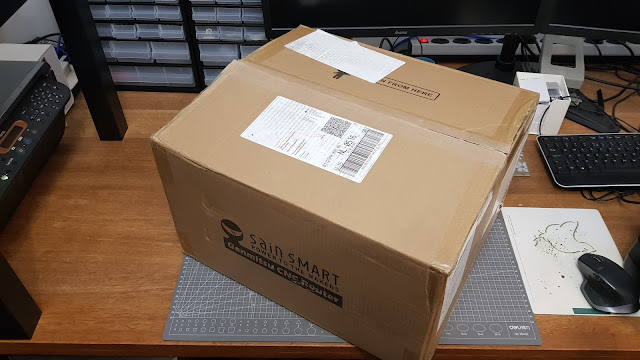
A friend of mine, Dimitri, set himself a doodling challenge for October 2020: take a single word, and make a little drawing with that word as the topic. And do this every day of the month of October 2020. He called it Inktober 2020. I took two of his drawings, and turned them into engravings on my SainSmart Genmitsu 3018 PROVer. With Vecctric's Aspire (or V-Carve for that matter), it is quite easy to do a vector trace of a black and white picture, so the toolpaths and G-codes were quickly created. I have about 200 of those little 147x45z12mm Laced Acacia wood planks (leftovers from IKEA RUNNEN wood tiles) laying around, so they made excellent test pieces! I used a 60 degree V-bit for this first project. @dimiris_d's Inktober 2020 "Bulky" The V-bit is a little stump for smaller details, so the text gets a little hard to read on this small scale, The second one I decided to try was "Sleep". This time, I wanted to pocket out the area that was going to be engrav

Calibration Time!

Image
Time for some products to come off the board! The very first product I made with my 3018 PROVer was a combination of a V-carve and a 3D carve that I had been planning ever since I started saving up for a CNC:  a House Number plate with our house number on it, plus on two sides a recessed 3D carve of a Labrador Very different from what other people use as their first product, I'm sure 😁. But I had it all prepared already, and I had some scrap wood laying around to give it a shot. So I just went for it! Using a 60 degree V-bit for the lettering and a R0.25mm tapered ballnose bit for the 3D carving (with a 1/8" End Mill for clearing). Dimensional accuracy is not important at this stage, because I have only one part, and nothing needs to fit together yet. For scale: the piece of wood is only 45mm high ( ~1.75", for those of you that are more comfortable with inches). So the little 3D carve is only 30x30 mm or so. Also, the wood itself is rather soft, so there were some fuzzi

First cuts on the 3018 PROVer

Image
A few weeks ago, I received my brand new SainSmart Genmitsu 3018 PROVer CNC miling machine. Now it's time to make some noise! 😁 When milling through a piece of material, it is wise to have a sacrificial piece of material below it, so that the aluminium bed does not get milled away bit by bit. That's generally called a spoil board, or at least that's what I will call it. I had some 18mm MDF laying around that is a little smaller (26x15cm) than the bed size (30x18cm), so I decided to use that at first. As I did, I noticed that that was also almost exactly the travel between end stops (263x155mm) that I had. Since I am not planning on removing the end stops (I kinda like that as a safety feature), thats the work area I am going to have to live wit. If my job gets close to that, I will also need to be very careful of where I place the material on the spoil board. I will have to check the travel in X and Y before committing the g-code. I also had a roll of double-sided carpet

SainSmart Genmitsu 3018 PROVer

Image
My SainSmart Genmitsu 3018 PROVer came in soon after I received the enclosure ( link to previous blog post on the enclosure). I had initially ordered a 3018 clone from one of the cheap Chinese websites, but they failed to deliver. After having a very positive experience with the SainSmart service desk regarding the enclosure (it got lost in transit, but I got a replacement shipped within 2 days; took 3 days to arrive), I decided I would reward SainSmart by buying my CNC milling machine from them as well. I ended up choosing for the PROVer version, because of it's all Aluminium frame, and emergency stop switch, offline controller, and Zero probe already in the package. I would have bought any of those seperately if they weren't included, as is often the case with the cheaper Chinese vendors. So here's how the unboxing and assebly of my PROVer went. Pretty straight-forward, actually 😀 So here's the box Just like the enclosure, it is all well packaged with lots of foam, a